
How to Create a Docket in SiteBook (WebApp)
Updated over 6 months ago Table of contentsDocket User Permissions
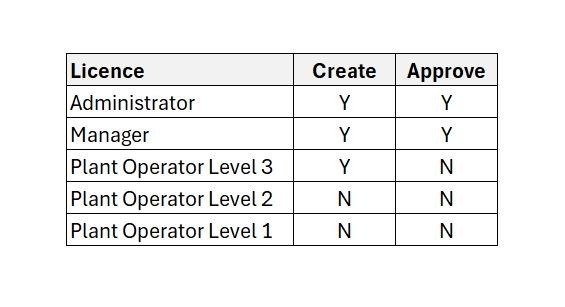
1. Users who can Create or Approve Dockets:
Navigating to the Dockets Menu
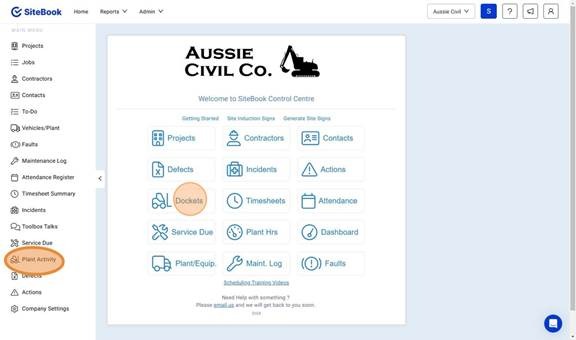
2. To Navigate to the Dockets Menu, Select Dockets from the home dashboard or the left hand side menu options:
Adding a new Docket
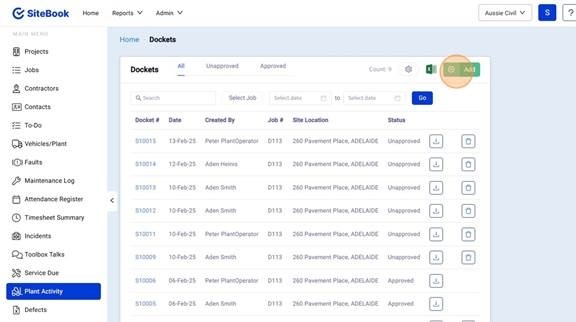
3. In the top right-hand corner, select "Add" to create a new Docket.
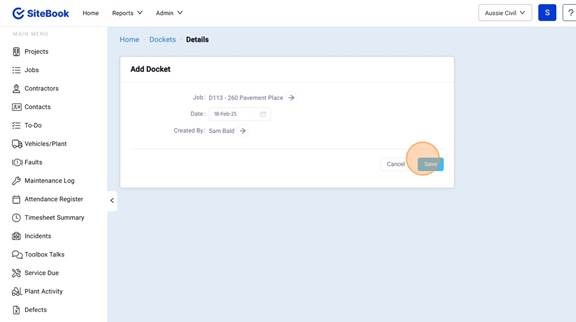
4. From the add Docket Screen, select the Job, Docket Date and Users name. Click save to create the Docket.
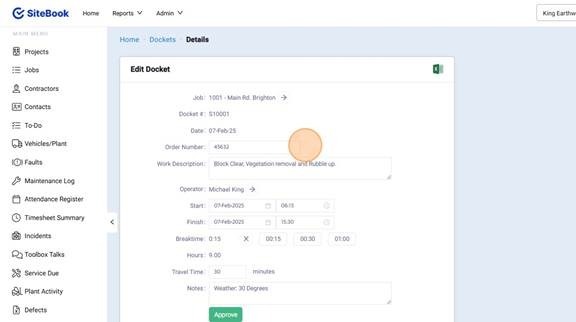
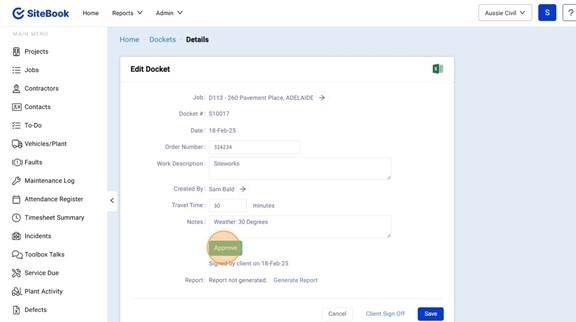
Editing a Docket
5. Enter your job details in the top card. (*Note when configured as a Daily report / Day sheet the timesheet fields will be removed and a labour table added in its place to record all hours for one day on one site)

6. When configured to be filled out by individual operators, the option to fill out their timesheet will also be available in the top card.
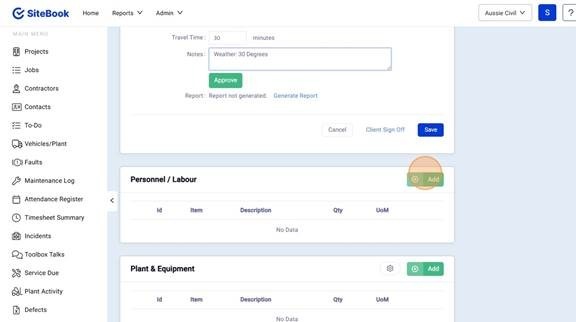
Personnel / Labour Table
7. Add Personnel / Labor from the "Add" Button.
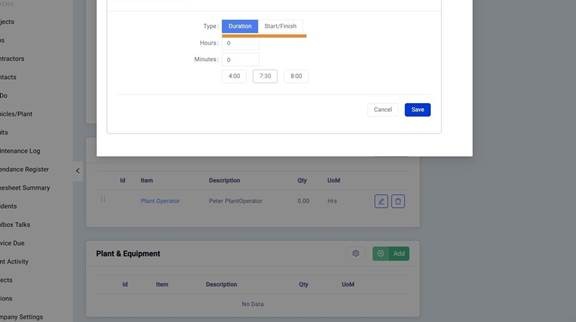
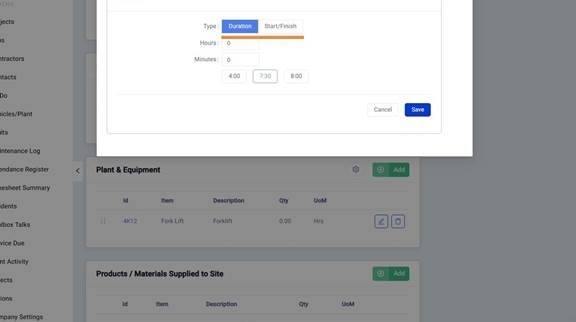
8. Hours for the Users can be added using Duration (Hours Only) or Start / Finish. (Time & Breaks)
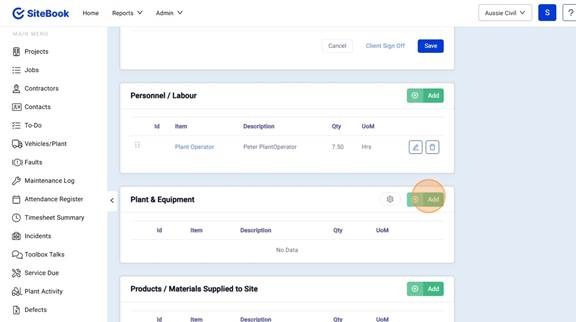
Plant & Equipment Table
9. Add Plant & Equipment from the "Add" Button.
10. Hours for the Plant & Equipment can be added using Duration (Hours Only) or Start / Finish. (Time & Breaks)
Products Tables
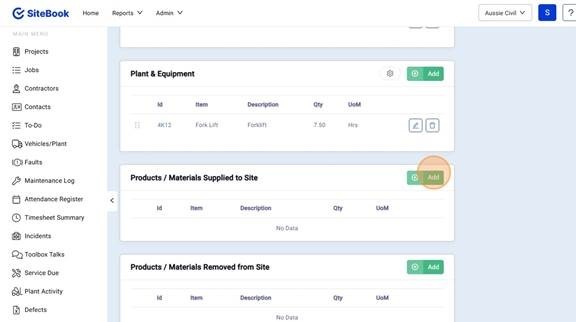
11. Add Products from the "Add" Button.
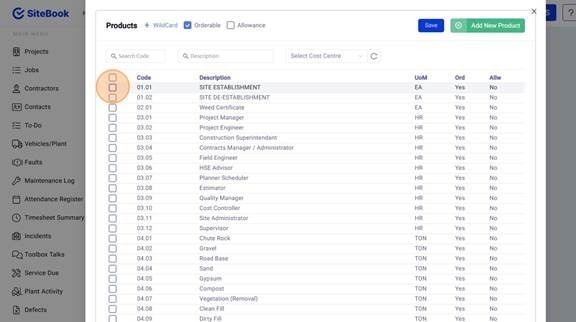
12. Select the Product/s from the Products list.
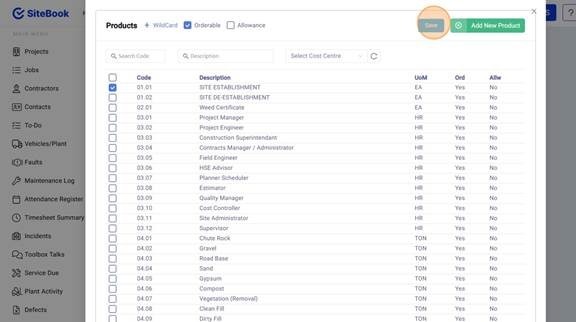
13. Click "Save" to add to the Docket.
Invoices (Coming Soon!)
14. Add an Invoice from the "Add" Button.
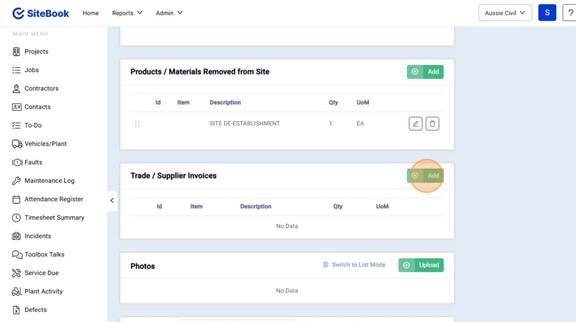
15. Add the Invoice Number, Amount and Description and upload the Invoice.
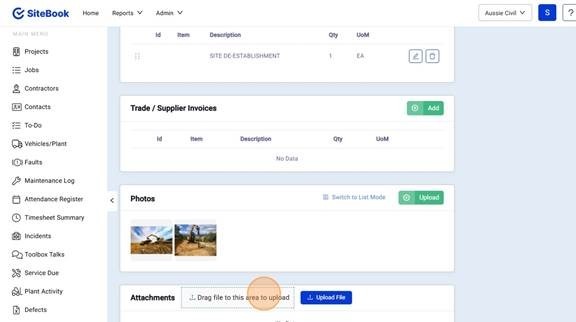
Photos
16. Add Photos from the "Upload" Button.

Attachments
17. Drag a file from your desktop into the "Drag file to this area to upload" section or click "Upload File" to select a file from a directory.
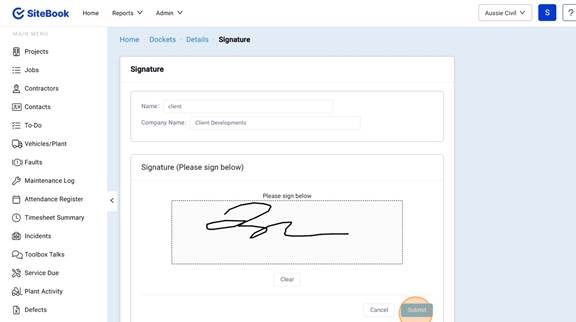
Client Sign-Off
18. At the top of the screen in the first Docket Card, Select "Client Sign-Off".

19. Add in the Clients representative name, company and signature, then click save.
Docket Approval
20. At the top of the screen in the first Docket Card, Select "Approve".
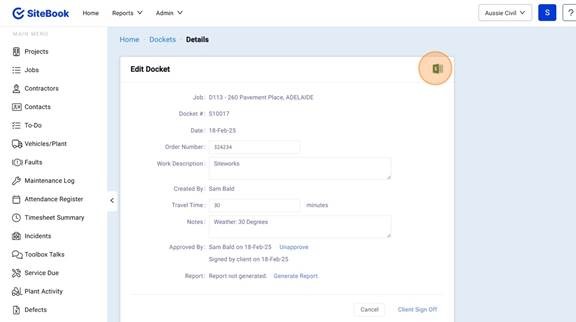
Export Docket Data
21. At the top of the screen in the first Docket Card, Select the Excel Icon in the top right to export the docket Items to Excel.
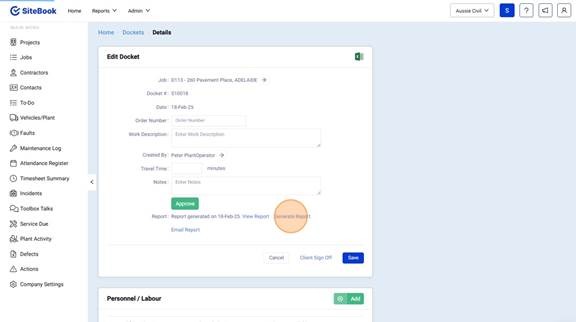
Generate Report
22. At the top of the screen in the first Docket Card, Select the Generate Report to create a PDF of the Docket.
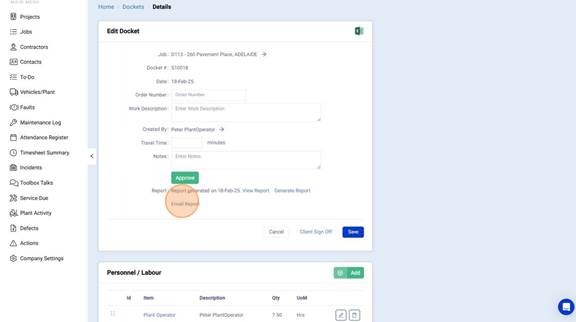
Email Docket Report
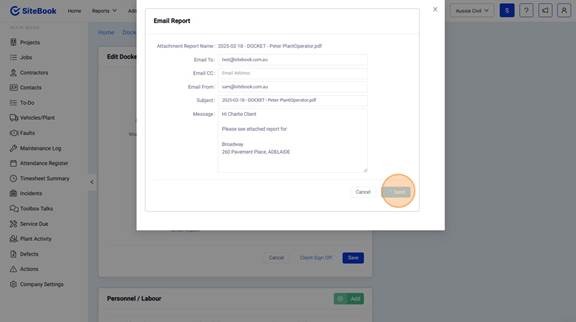
23. At the top of the screen in the first Docket Card, Select Email Report.
24. Edit the Recipients Details and click send to email the Docket Report.
 Did this answer your question?😞😐😃